Skulduggery Pleasant Crosses the Pond (Finally!)
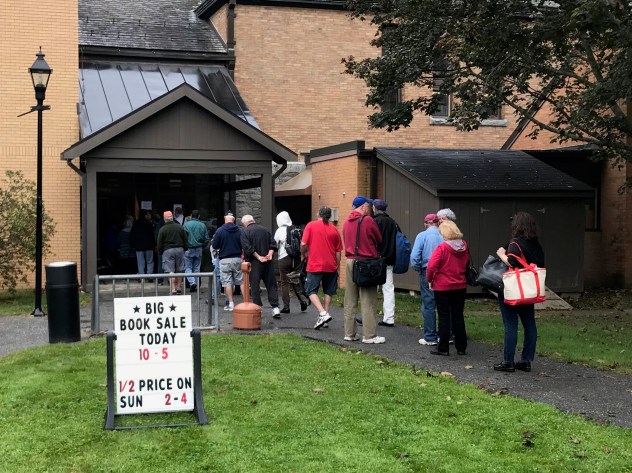
In the summer of 2014, when my son was nine years old and had recently finished devouring the Harry Potter series, we were regular visitors to our local library, where he was busy looking for many other books and series to devour, always on the hunt for something that might catch his imagination in quite the same way. (We’d begun that series with me reading them to him before bed, but about a quarter of the way through Goblet of Fire, I caught him reading over my shoulder and handed the reins over to him to finish on his own.) The library holds a used book sale three times a year as a fundraiser, which is always quite a draw, with a line at the door waiting for it to open (which we’re usually standing in):
On a visit to one of these sales that summer, I stumbled upon a hardback copy of Skulduggery Pleasant by Derek Landy, thought the synopsis looked like something my son would enjoy, and paid my dollar. This is how he was introduced to what would become his favorite new series and author, prompting him to ask if there was a sequel immediately after finishing the book. He had become a fan and had a new favorite author:
A quick search of Amazon showed that yes, there was a sequel! In fact, there were three books in the series! Oddly, though a search for “Skulduggery Pleasant” found the first book, Amazon listed the title as Scepter of the Ancients (which I’d learn was the title given to the U.S. version of the same first book in the series). After confirming I didn’t actually need Scepter of the Ancients, I quickly purchased books 2 and 3 (Playing with Fire and The Faceless Ones). My son flew through them and asked when he might expect the next book in the series.
After a little digging, I learned that many other books did already exist in the series, but were just unavailable in the U.S. Thanks to Book Depository, several more books (UK versions) were soon on the way across the ocean to us. We discovered Derek Landy on Twitter, and I helped my son reach out to him:
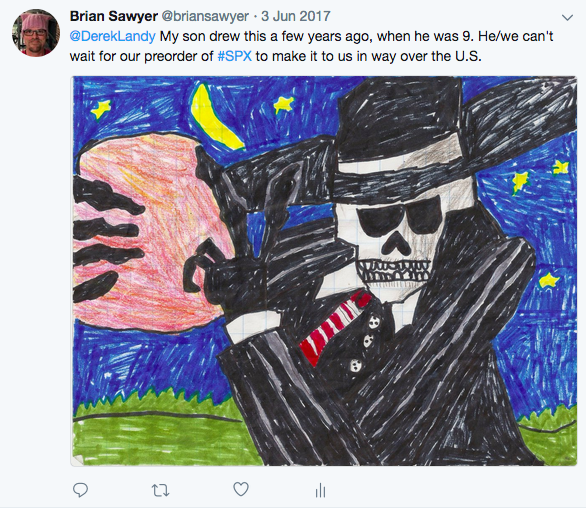
He was thrilled to see the first time his literary idol “liked” one of my tweets:
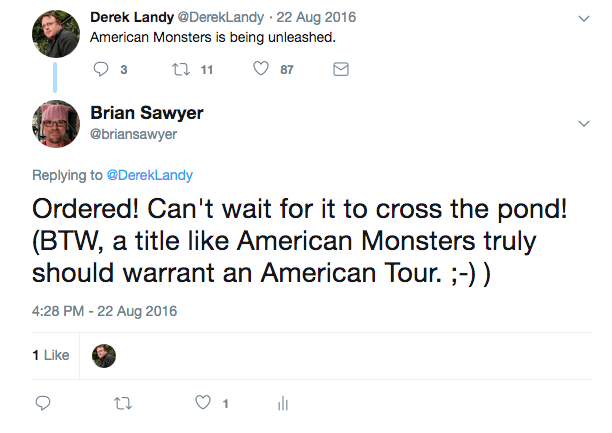
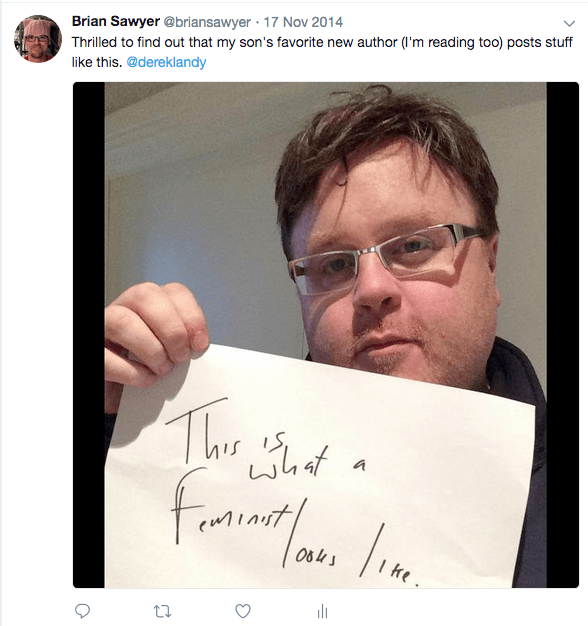
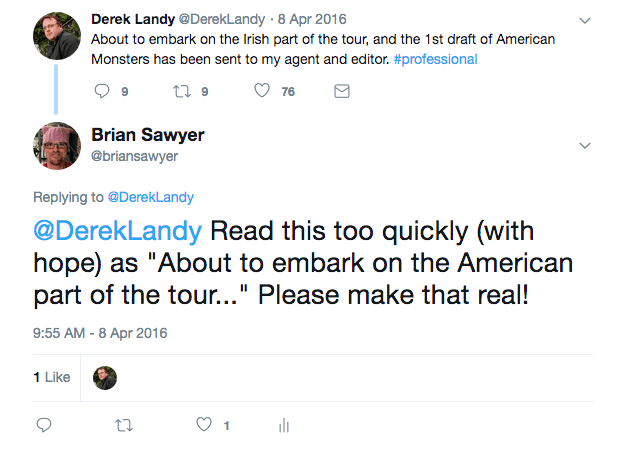
And I was thrilled to see that his idol was worth looking up to:
Somewhere along the line, he convinced me to try the books he loved so much, and I read the first one mainly to know what he was reading and to have conversations about it. But then I became hooked! I read every book he’d read in the series and we waited for the next installment together. We preordered via Book Depository and waited. And then I waited for him to read first (thankfully, it didn’t take long), before I got my turn.
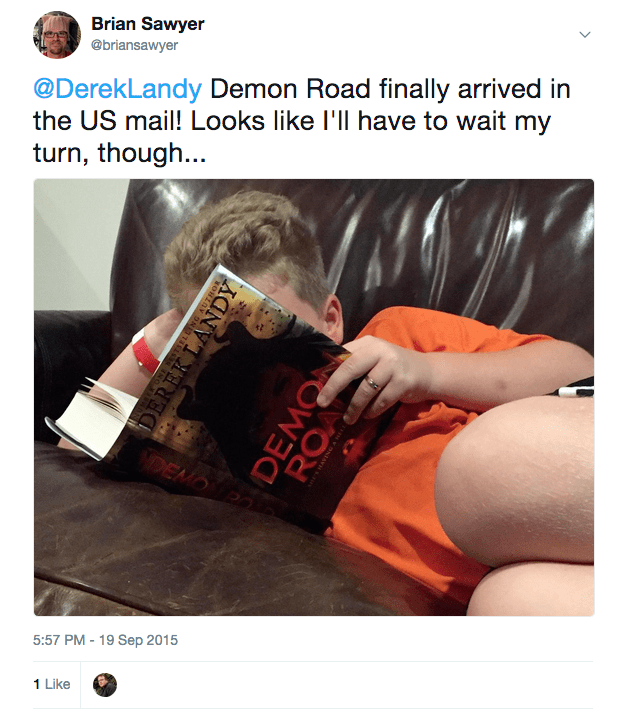
When the series ended (briefly, thank goodness), we did the same with Landy’s new Demon Road series:
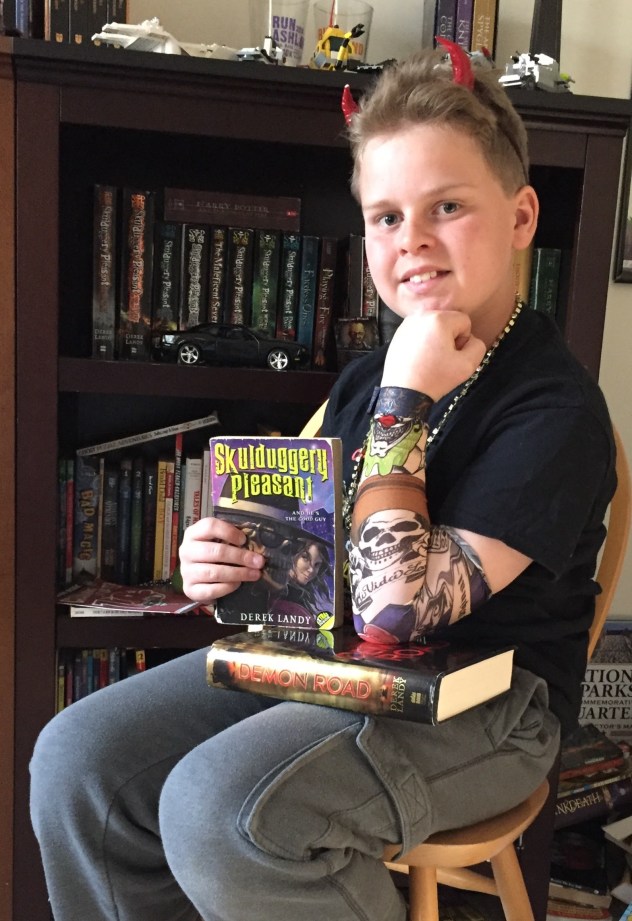
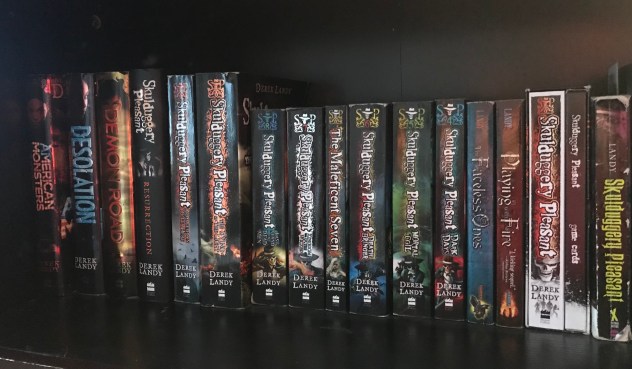
Now, our (his) top bookshelf looks like this:
As completists, we’ve even searched out every other piece of writing by the author. Did you know he wrote for Marvel (a match made in heaven for my comic book fan)?

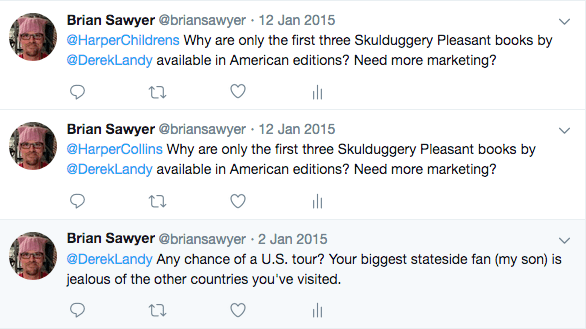
And now, as we eagerly await the release of the 11th book in the Skulduggery Pleasant series (not counting Armageddon Outta Here and The Maleficent Seven, a collection of short stories and an additional, unnumbered book in the extended universe, which we own but are the only two Landy books I myself haven’t read) in the UK, we are still waiting for the full series to be released in the U.S., so that we can fully evangelize the books to our friends (a crusade we’ve been on for some time):
But there’s finally a ray of hope! The books (almost the whole series) are finally crossing the pond!

And my son and I are so there. We’ve been evangelizing the books so long, we would love to become official Sanctuary Agents on behalf of the movement in the United States. Please, Mr. Landy, let us, your humble minions, do your bidding with your blessing! (We also really, really want the signed books, special correspondence, and other benefits 🙂 .)

Reply
You must be logged in to post a comment.