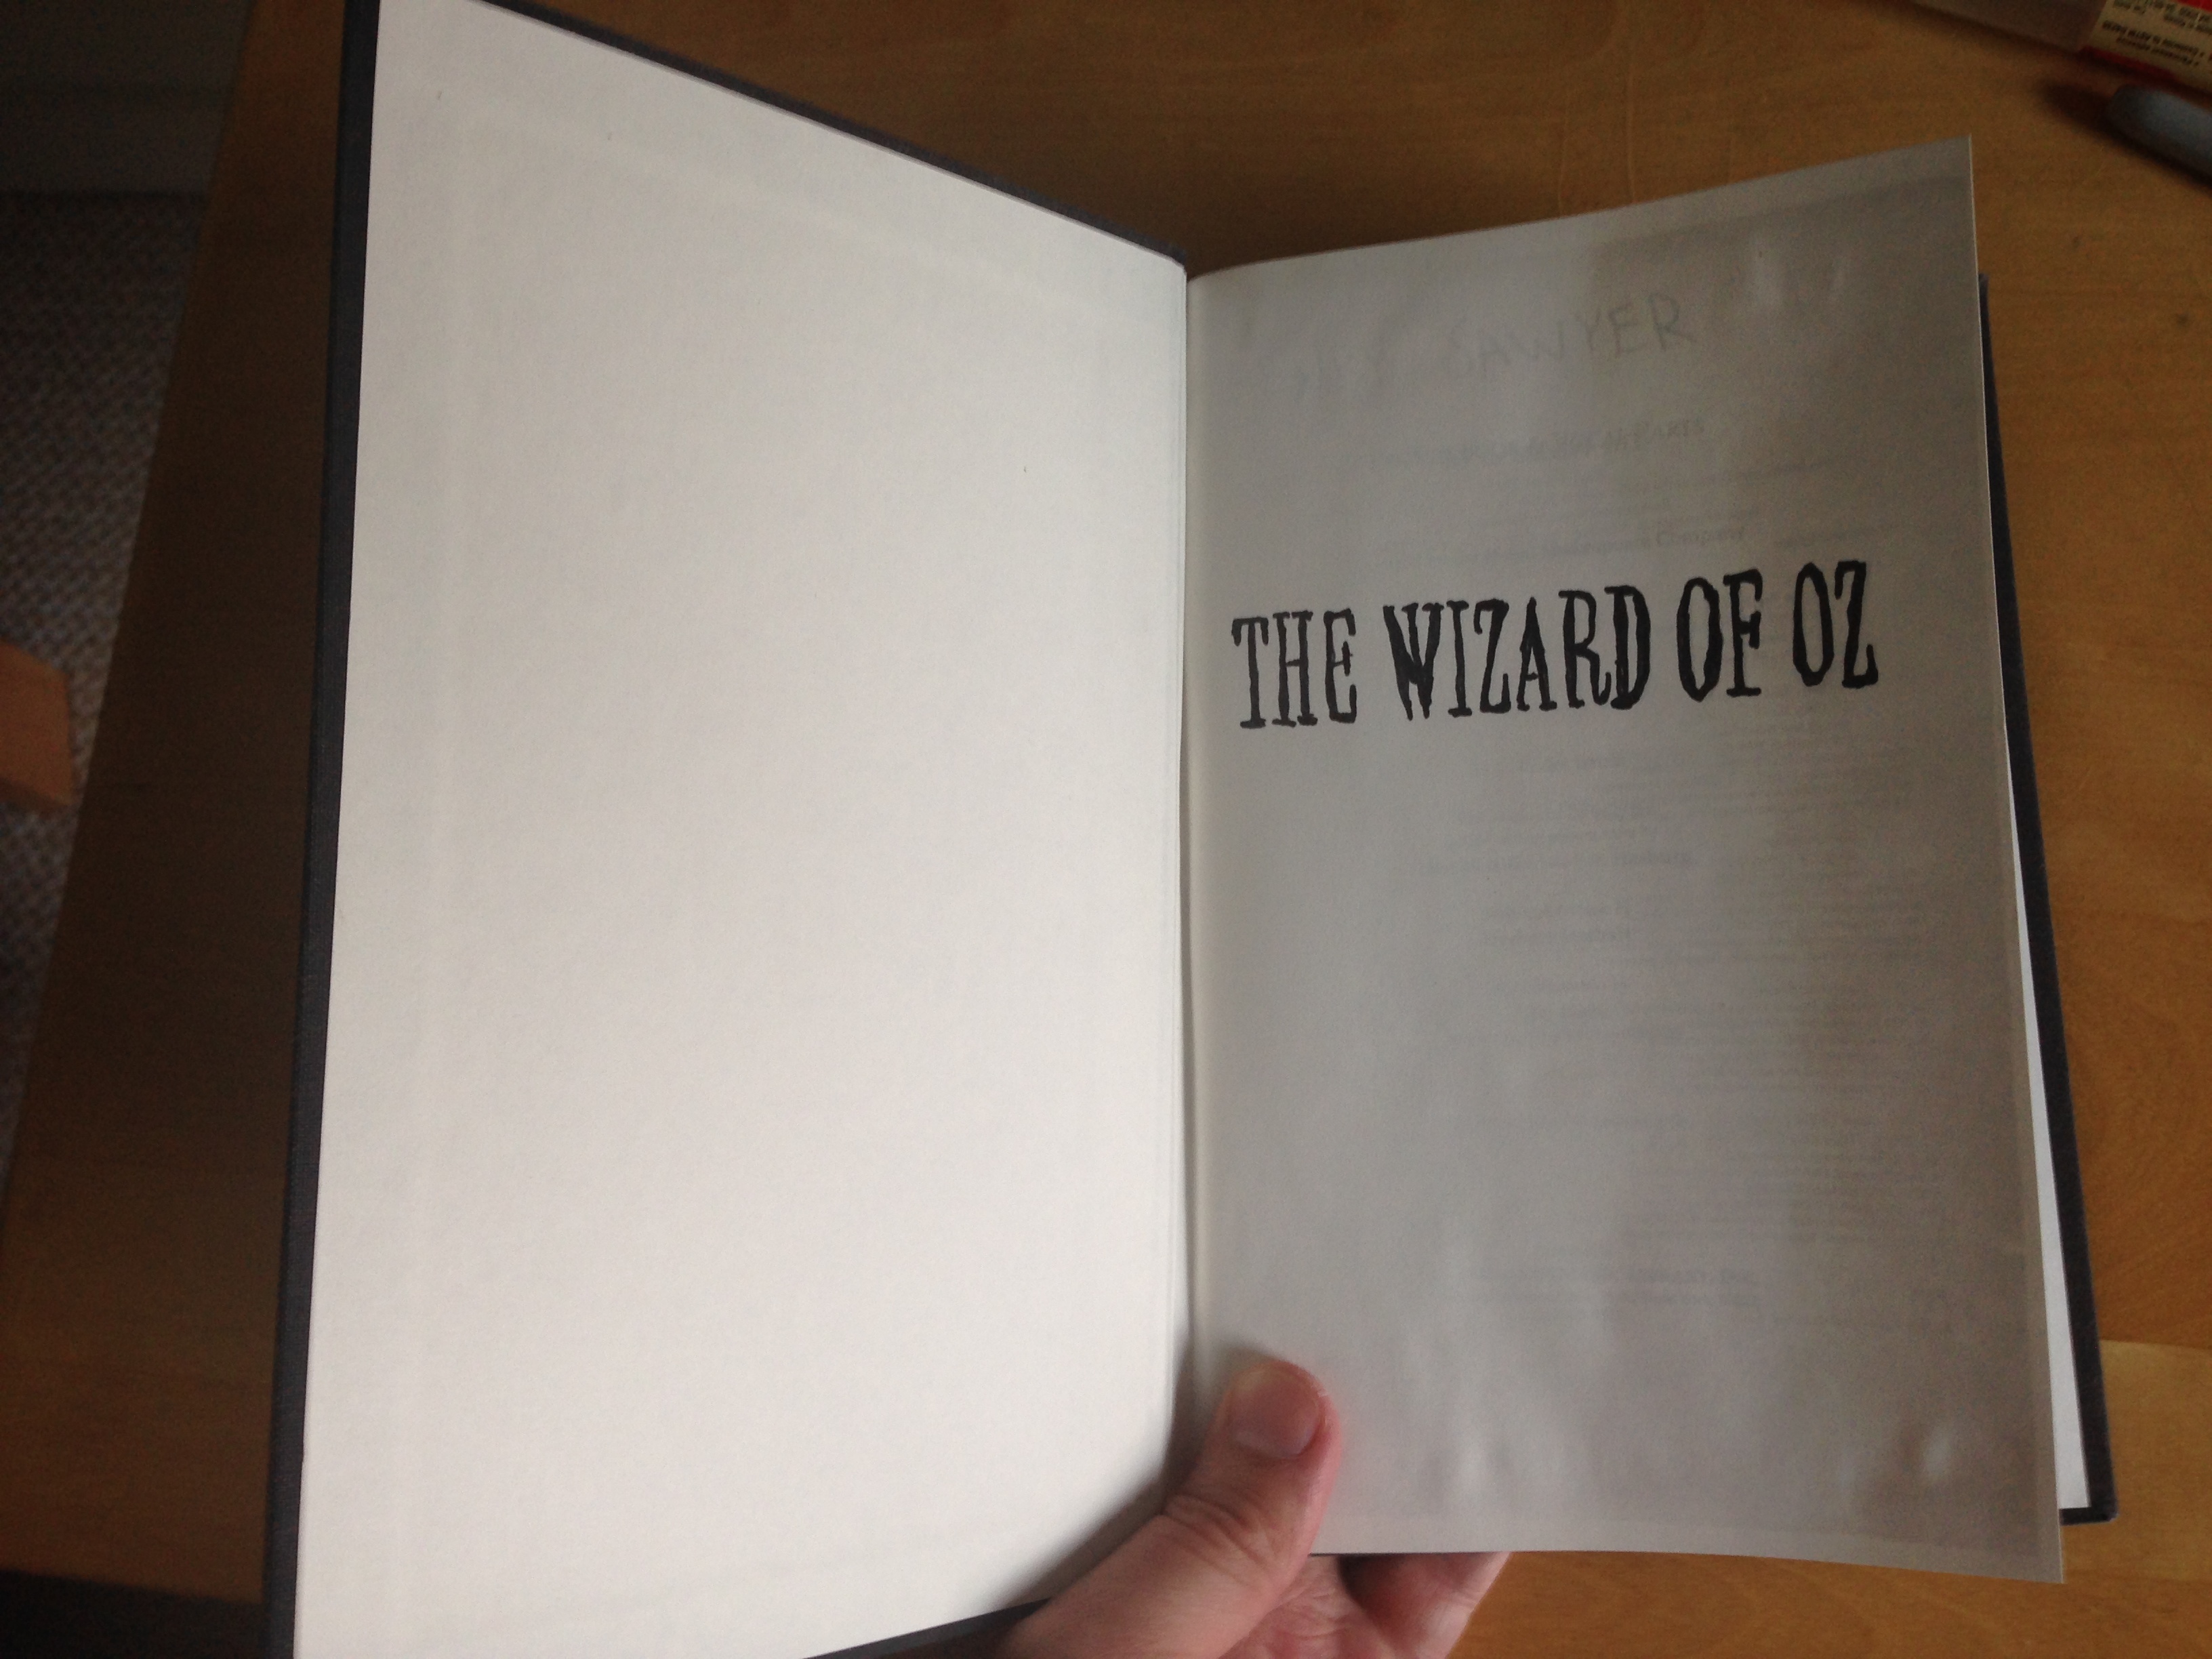
Saving a Script: or, Bookbinding by Borrowing
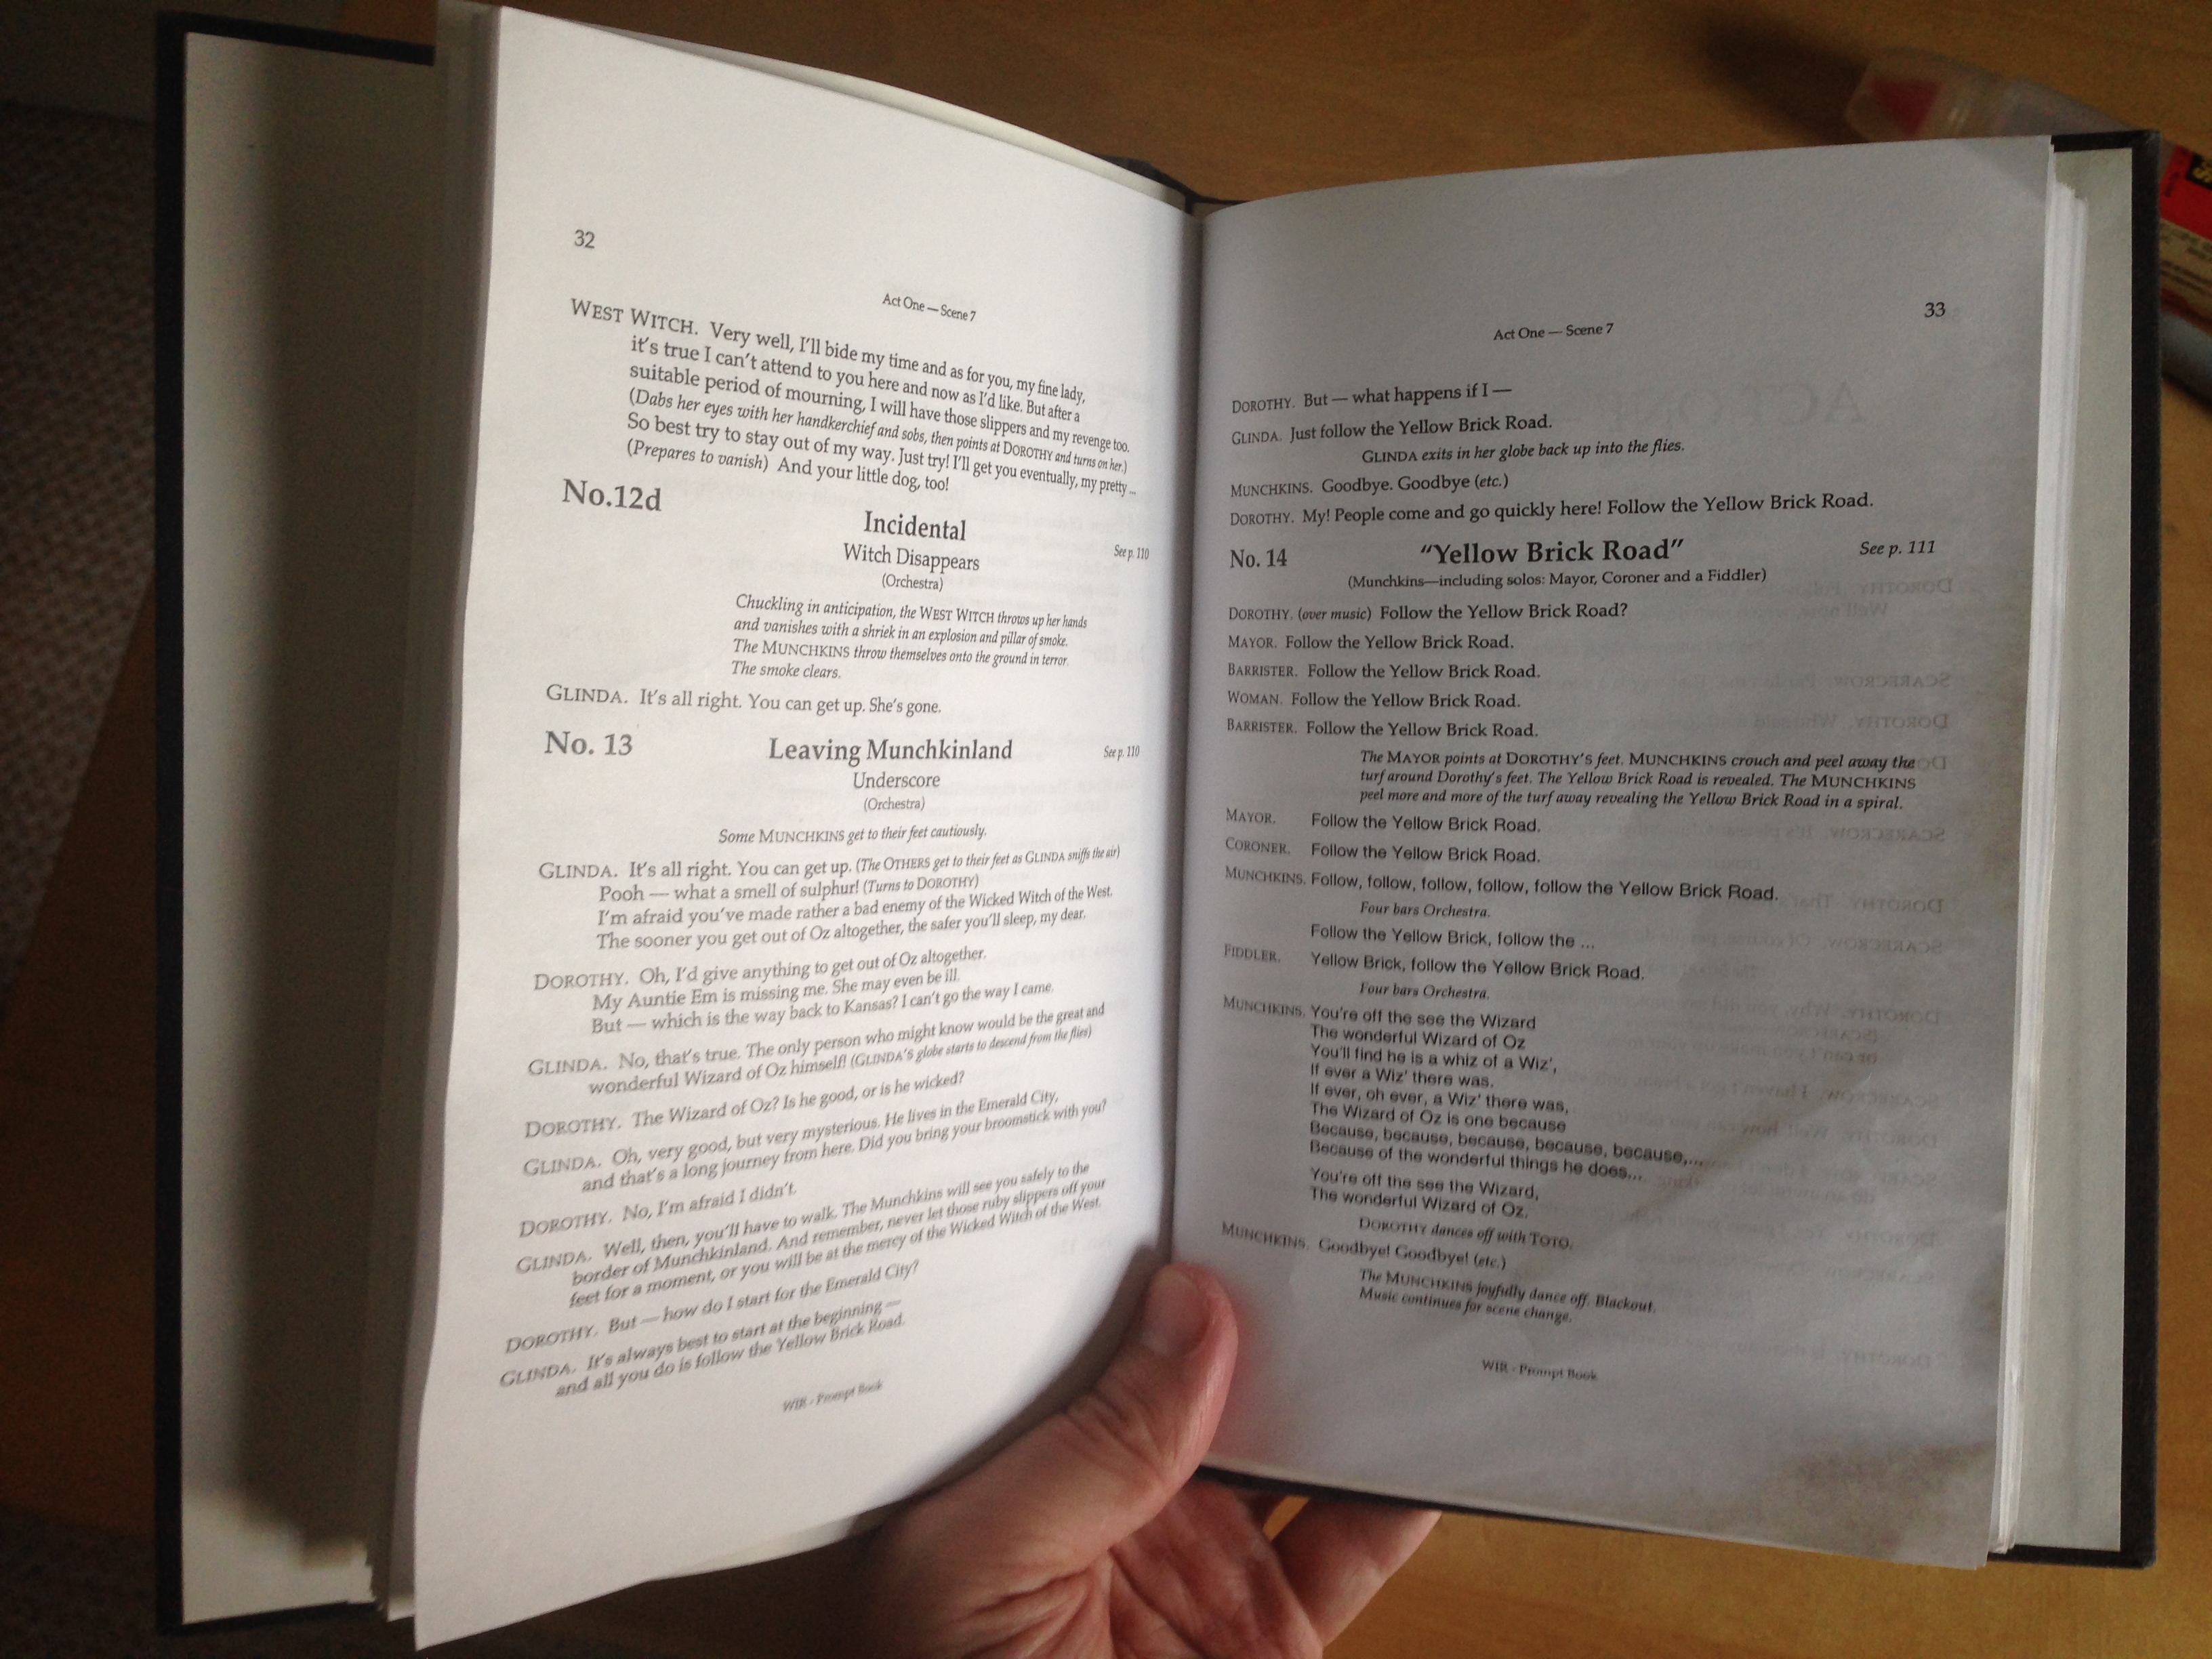
Problem: A flimsy, saddle-stapled paper script in the hands of a nine-year-old thespian, already showing extreme signs of wear after only two rehearsals and without ever seeing the ravages lurking at the bottom of a backpack.

Solution: Adding a hard cover (stolen from a book on hand) to provide increased support and durability.

Maybe these reinforcements will help the script last at least a few weeks of heavy use, or perhaps even until performance time?
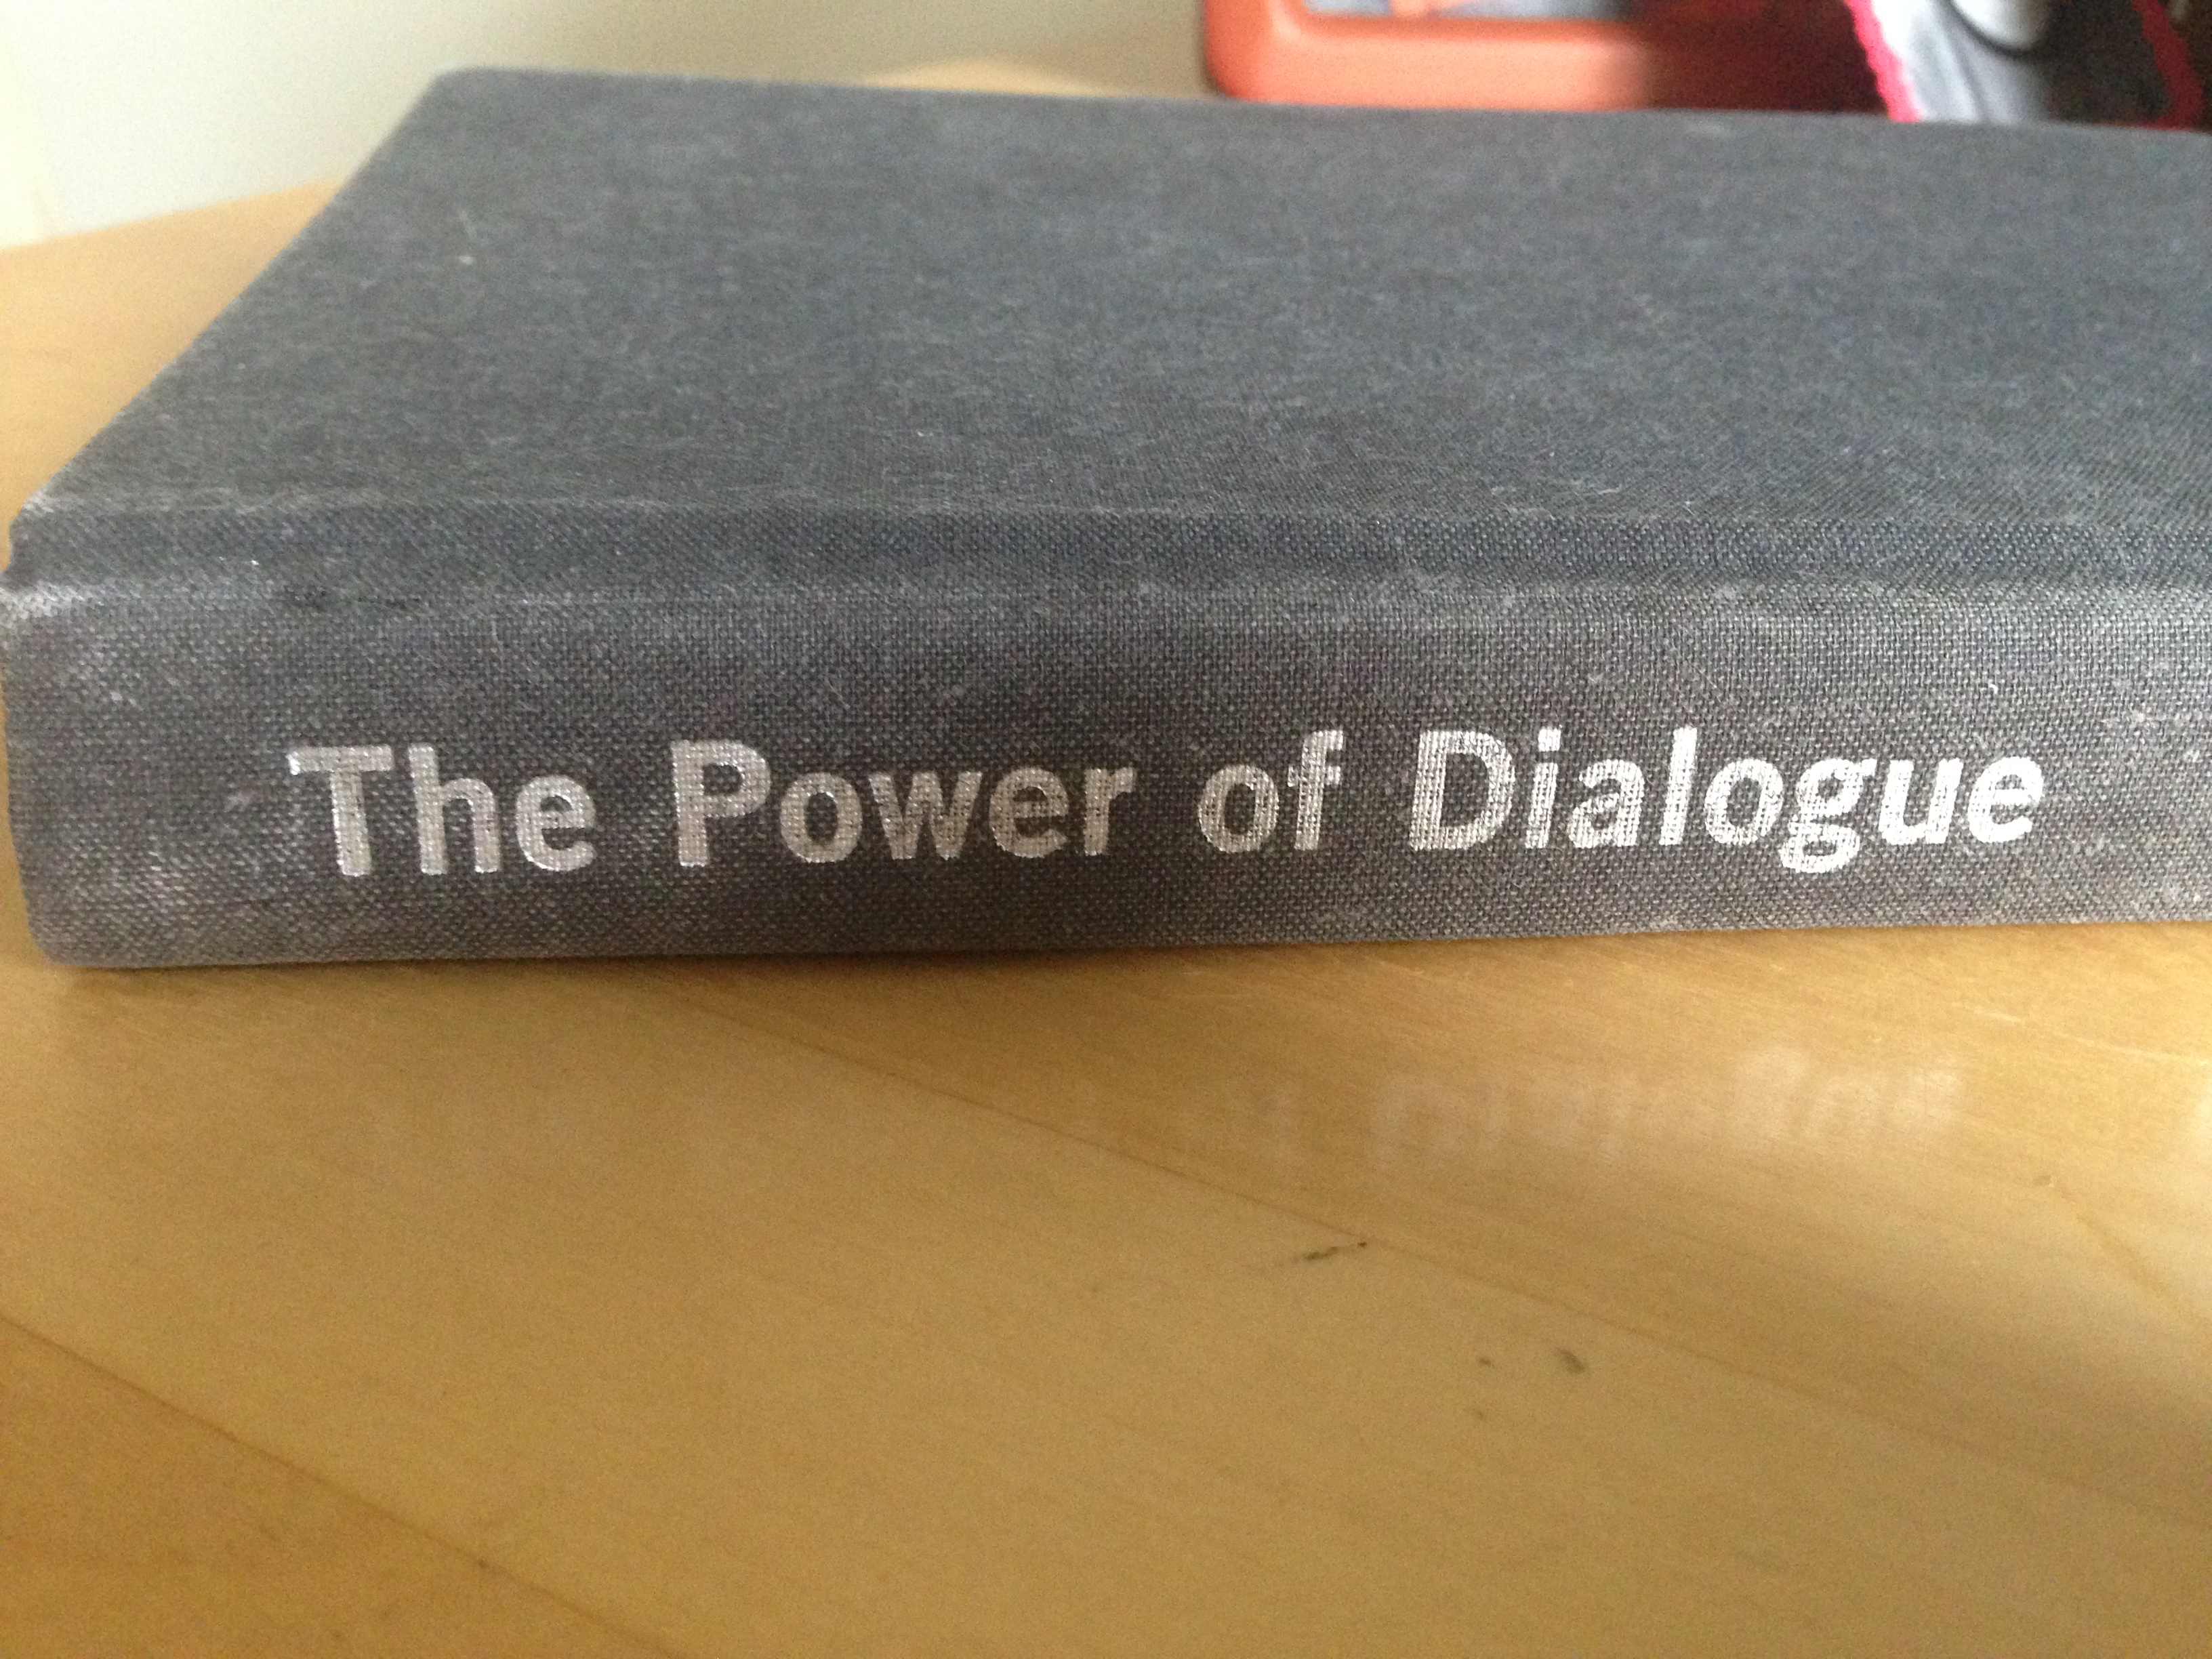
This whole project took about 15 minutes, making it longer to describe than to do. And the best part? The spine still suggests something about an important element in drama (apologies to Hans-Herbert Kögler).

Reply
You must be logged in to post a comment.